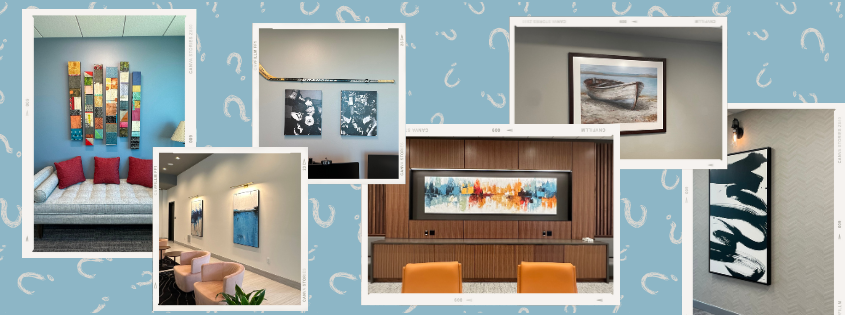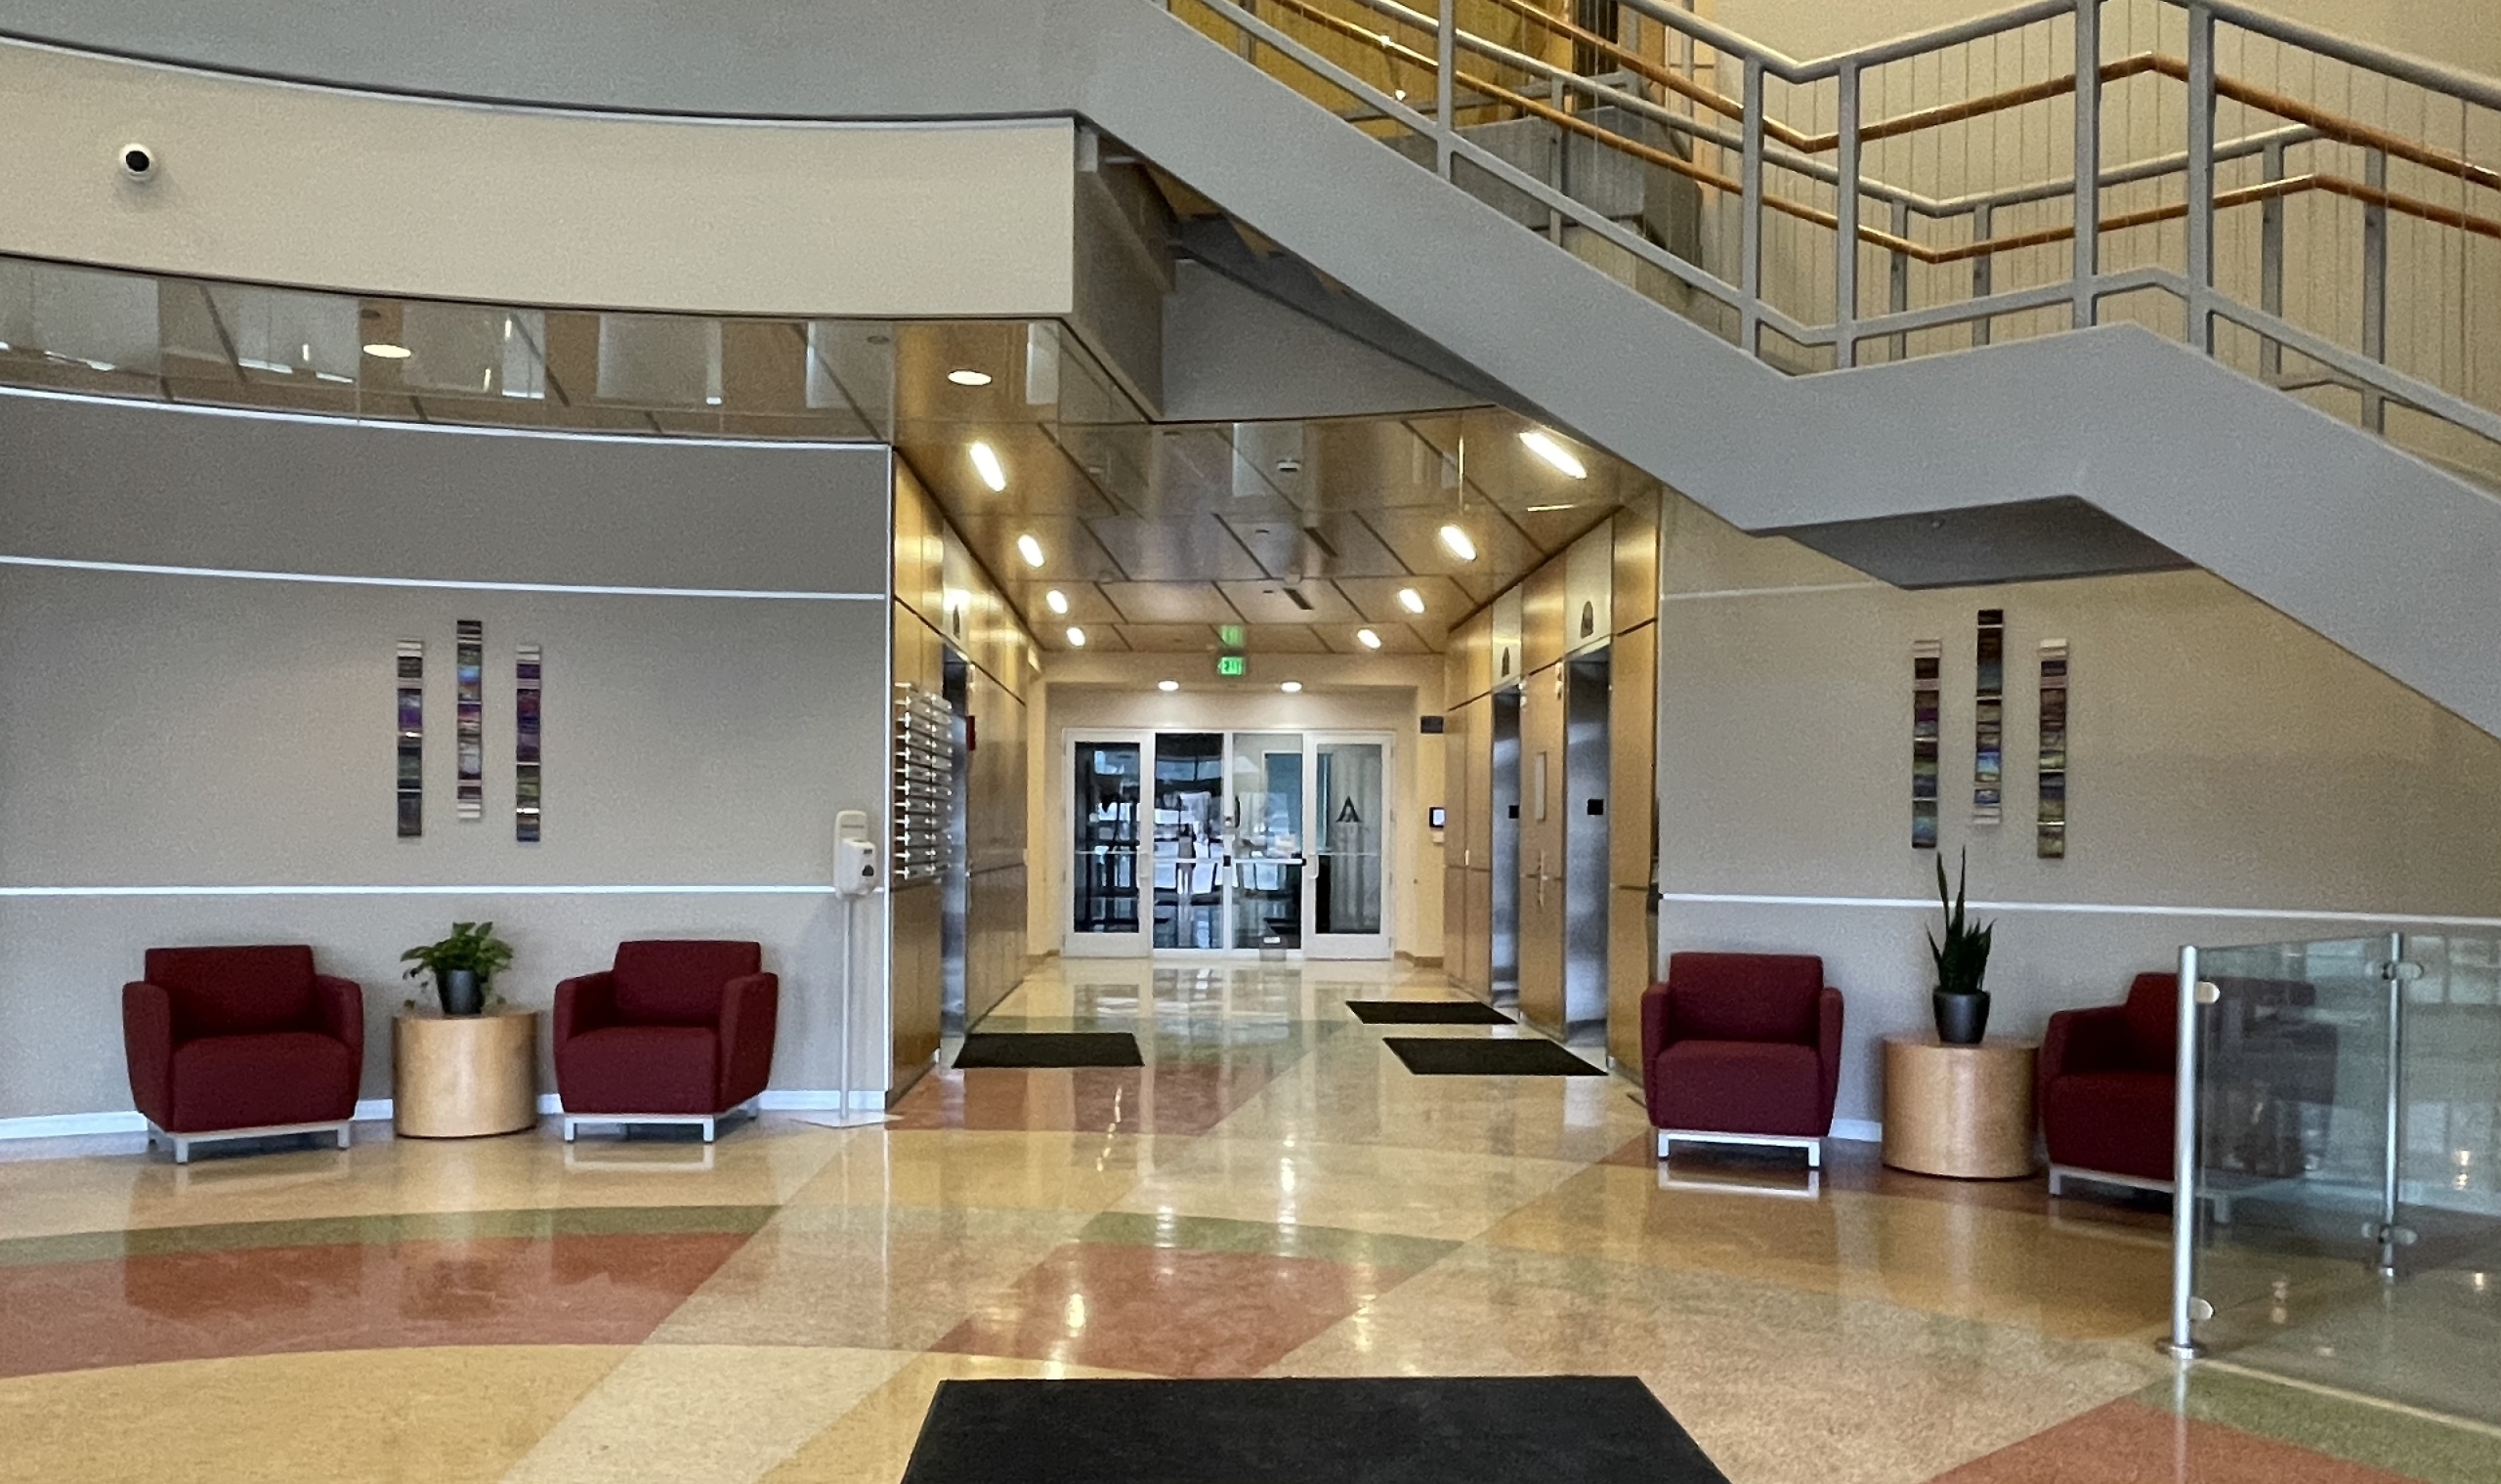
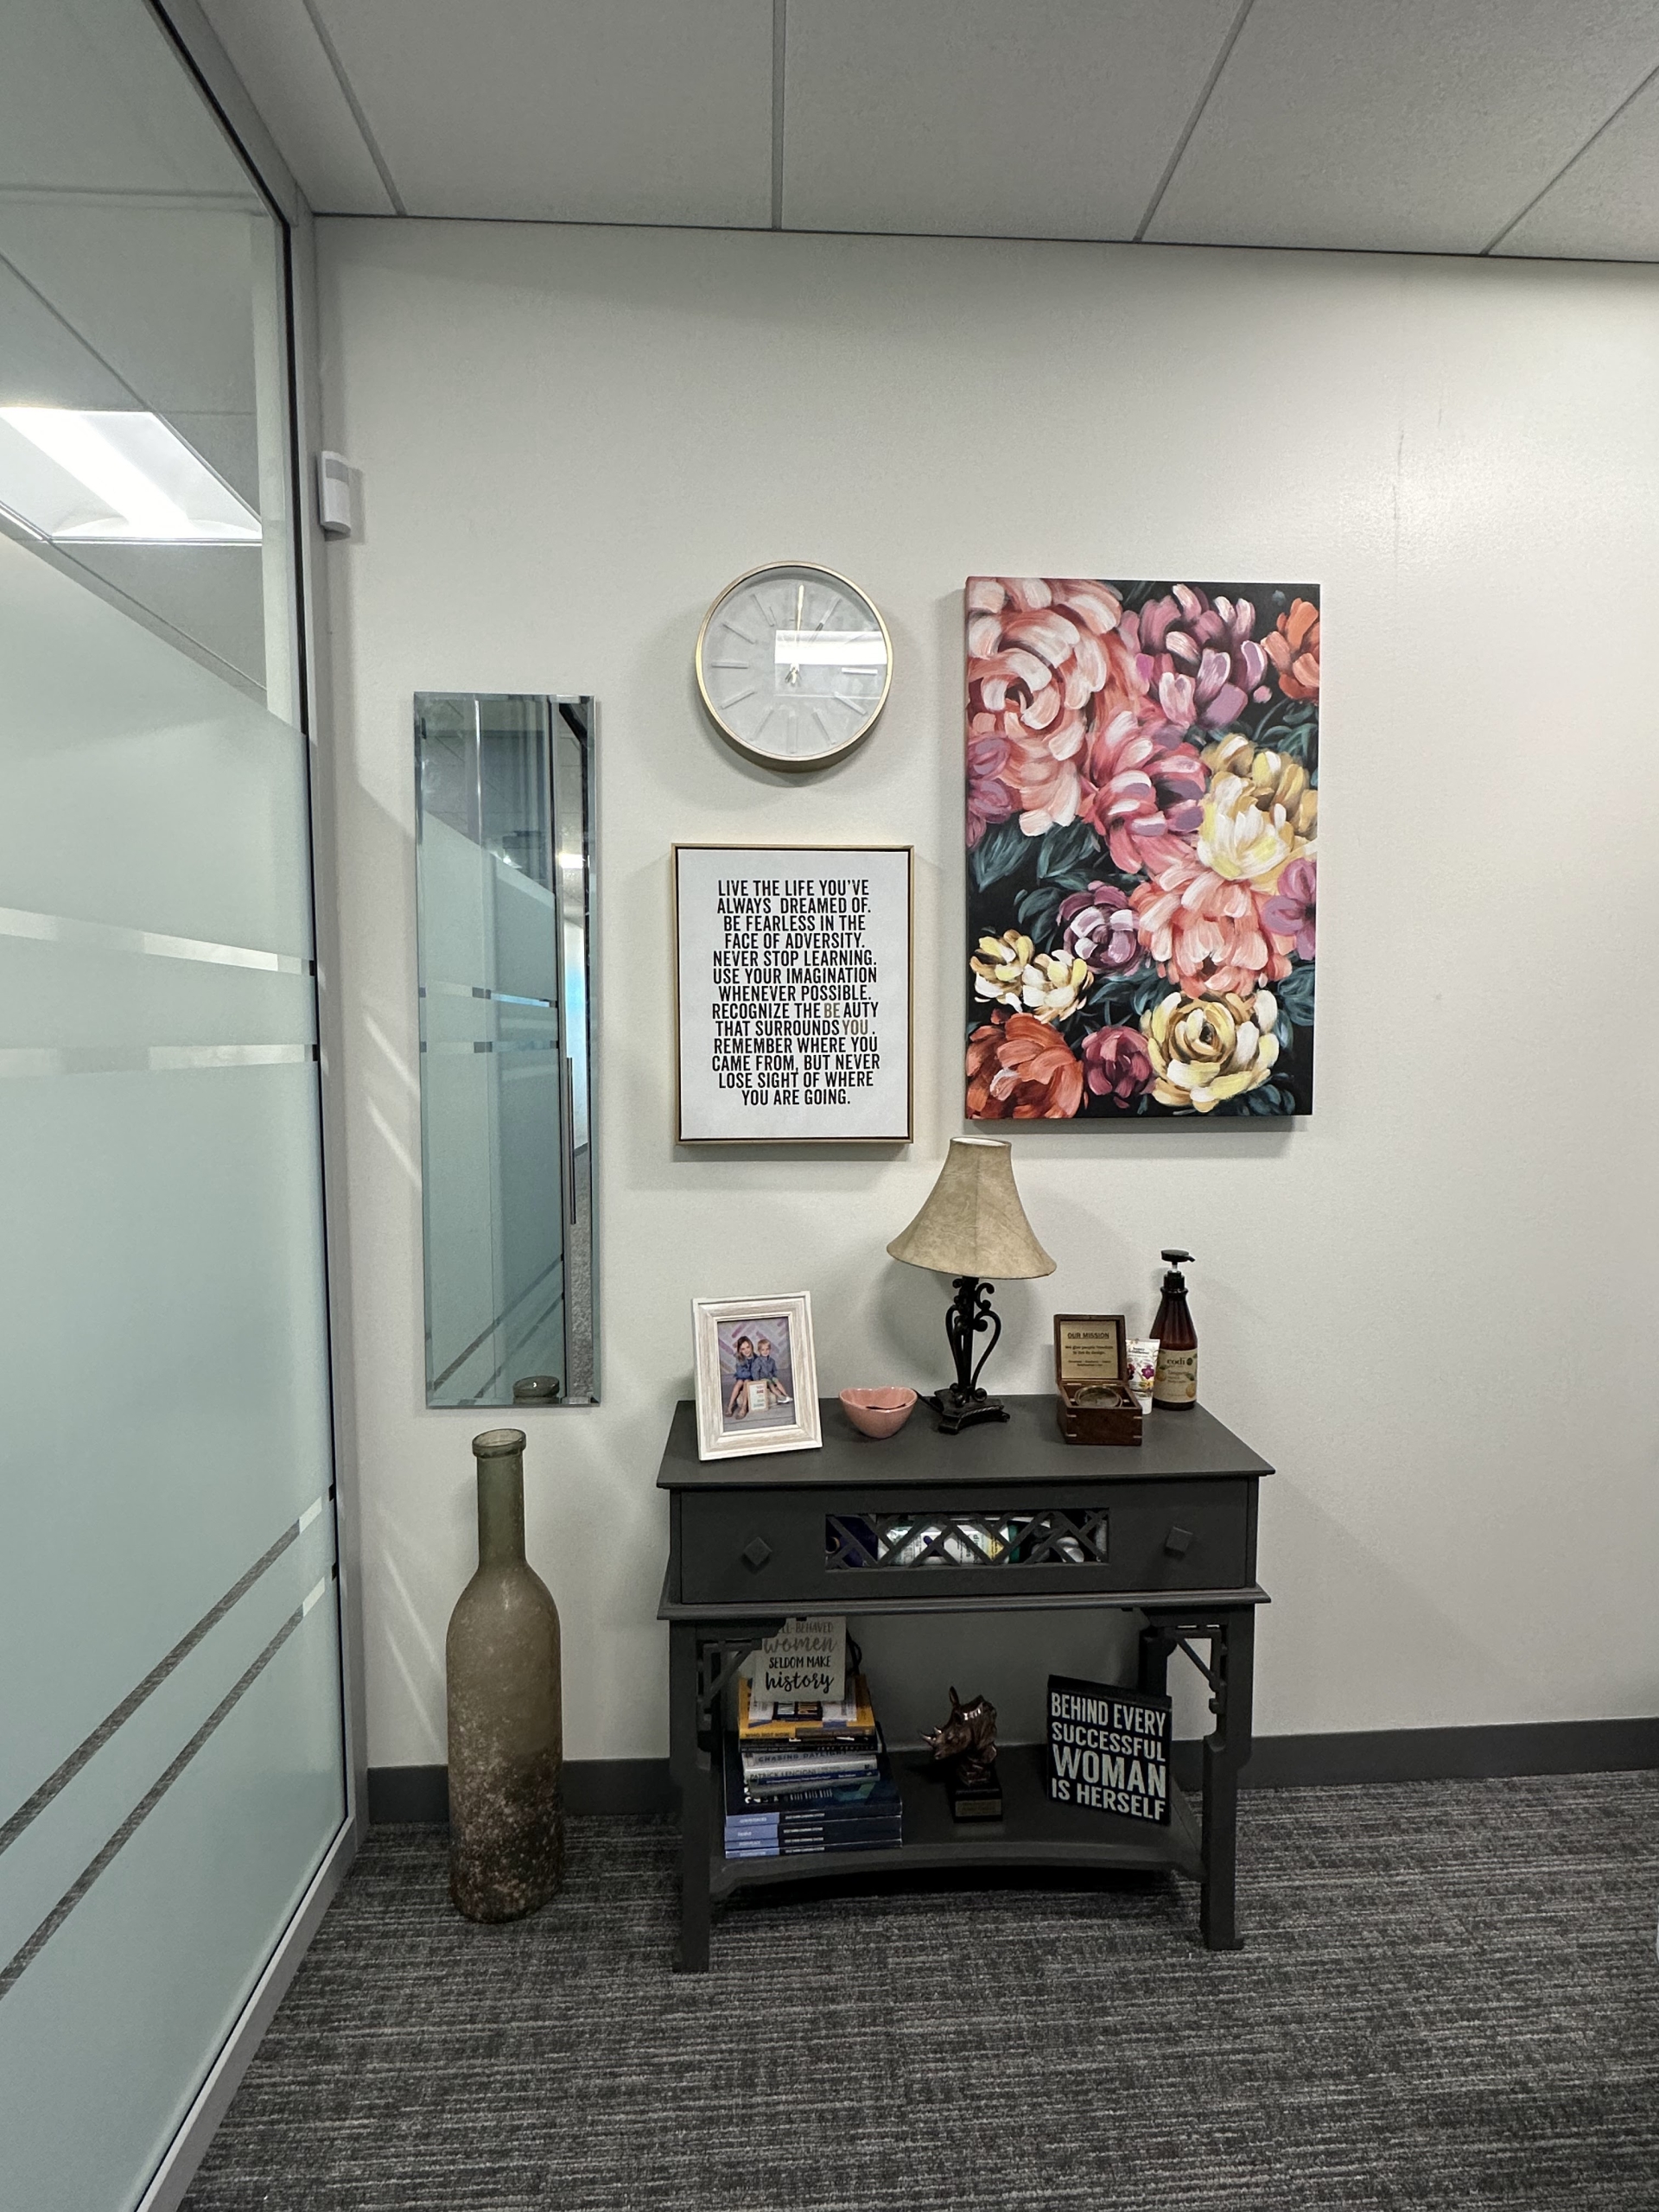
When it comes to sourcing art for an office or other place of business, understanding the different art mediums and the differences in the atmospheres they create is a huge part of the curation process. Each medium brings its own unique characteristics, textures, and emotional resonance, which can transform a business environment from ordinary to extraordinary. Here’s a guide to some of the most popular art mediums and how they can be effectively used in commercial spaces.
Paintings
Paintings are a timeless choice, offering a wide range of styles, from classical to contemporary. They are typically created using oils, acrylics, or watercolors. Oil paintings are known for their rich textures and depth, making them ideal for spaces seeking a traditional or luxurious feel. Acrylics, with their vibrant colors and versatility, can be tailored to fit any modern or abstract theme. Watercolors, with their delicate and translucent quality, are perfect for creating a calm and serene environment, such as in a spa or wellness center.
Sculptures
Sculptures can add a three-dimensional element to a space, creating visual interest from multiple angles. Materials range from traditional bronze and marble to modern mediums like metal, glass, and even recycled materials. Sculptures are particularly effective in large lobbies or outdoor areas, where they can serve as focal points and conversation starters.
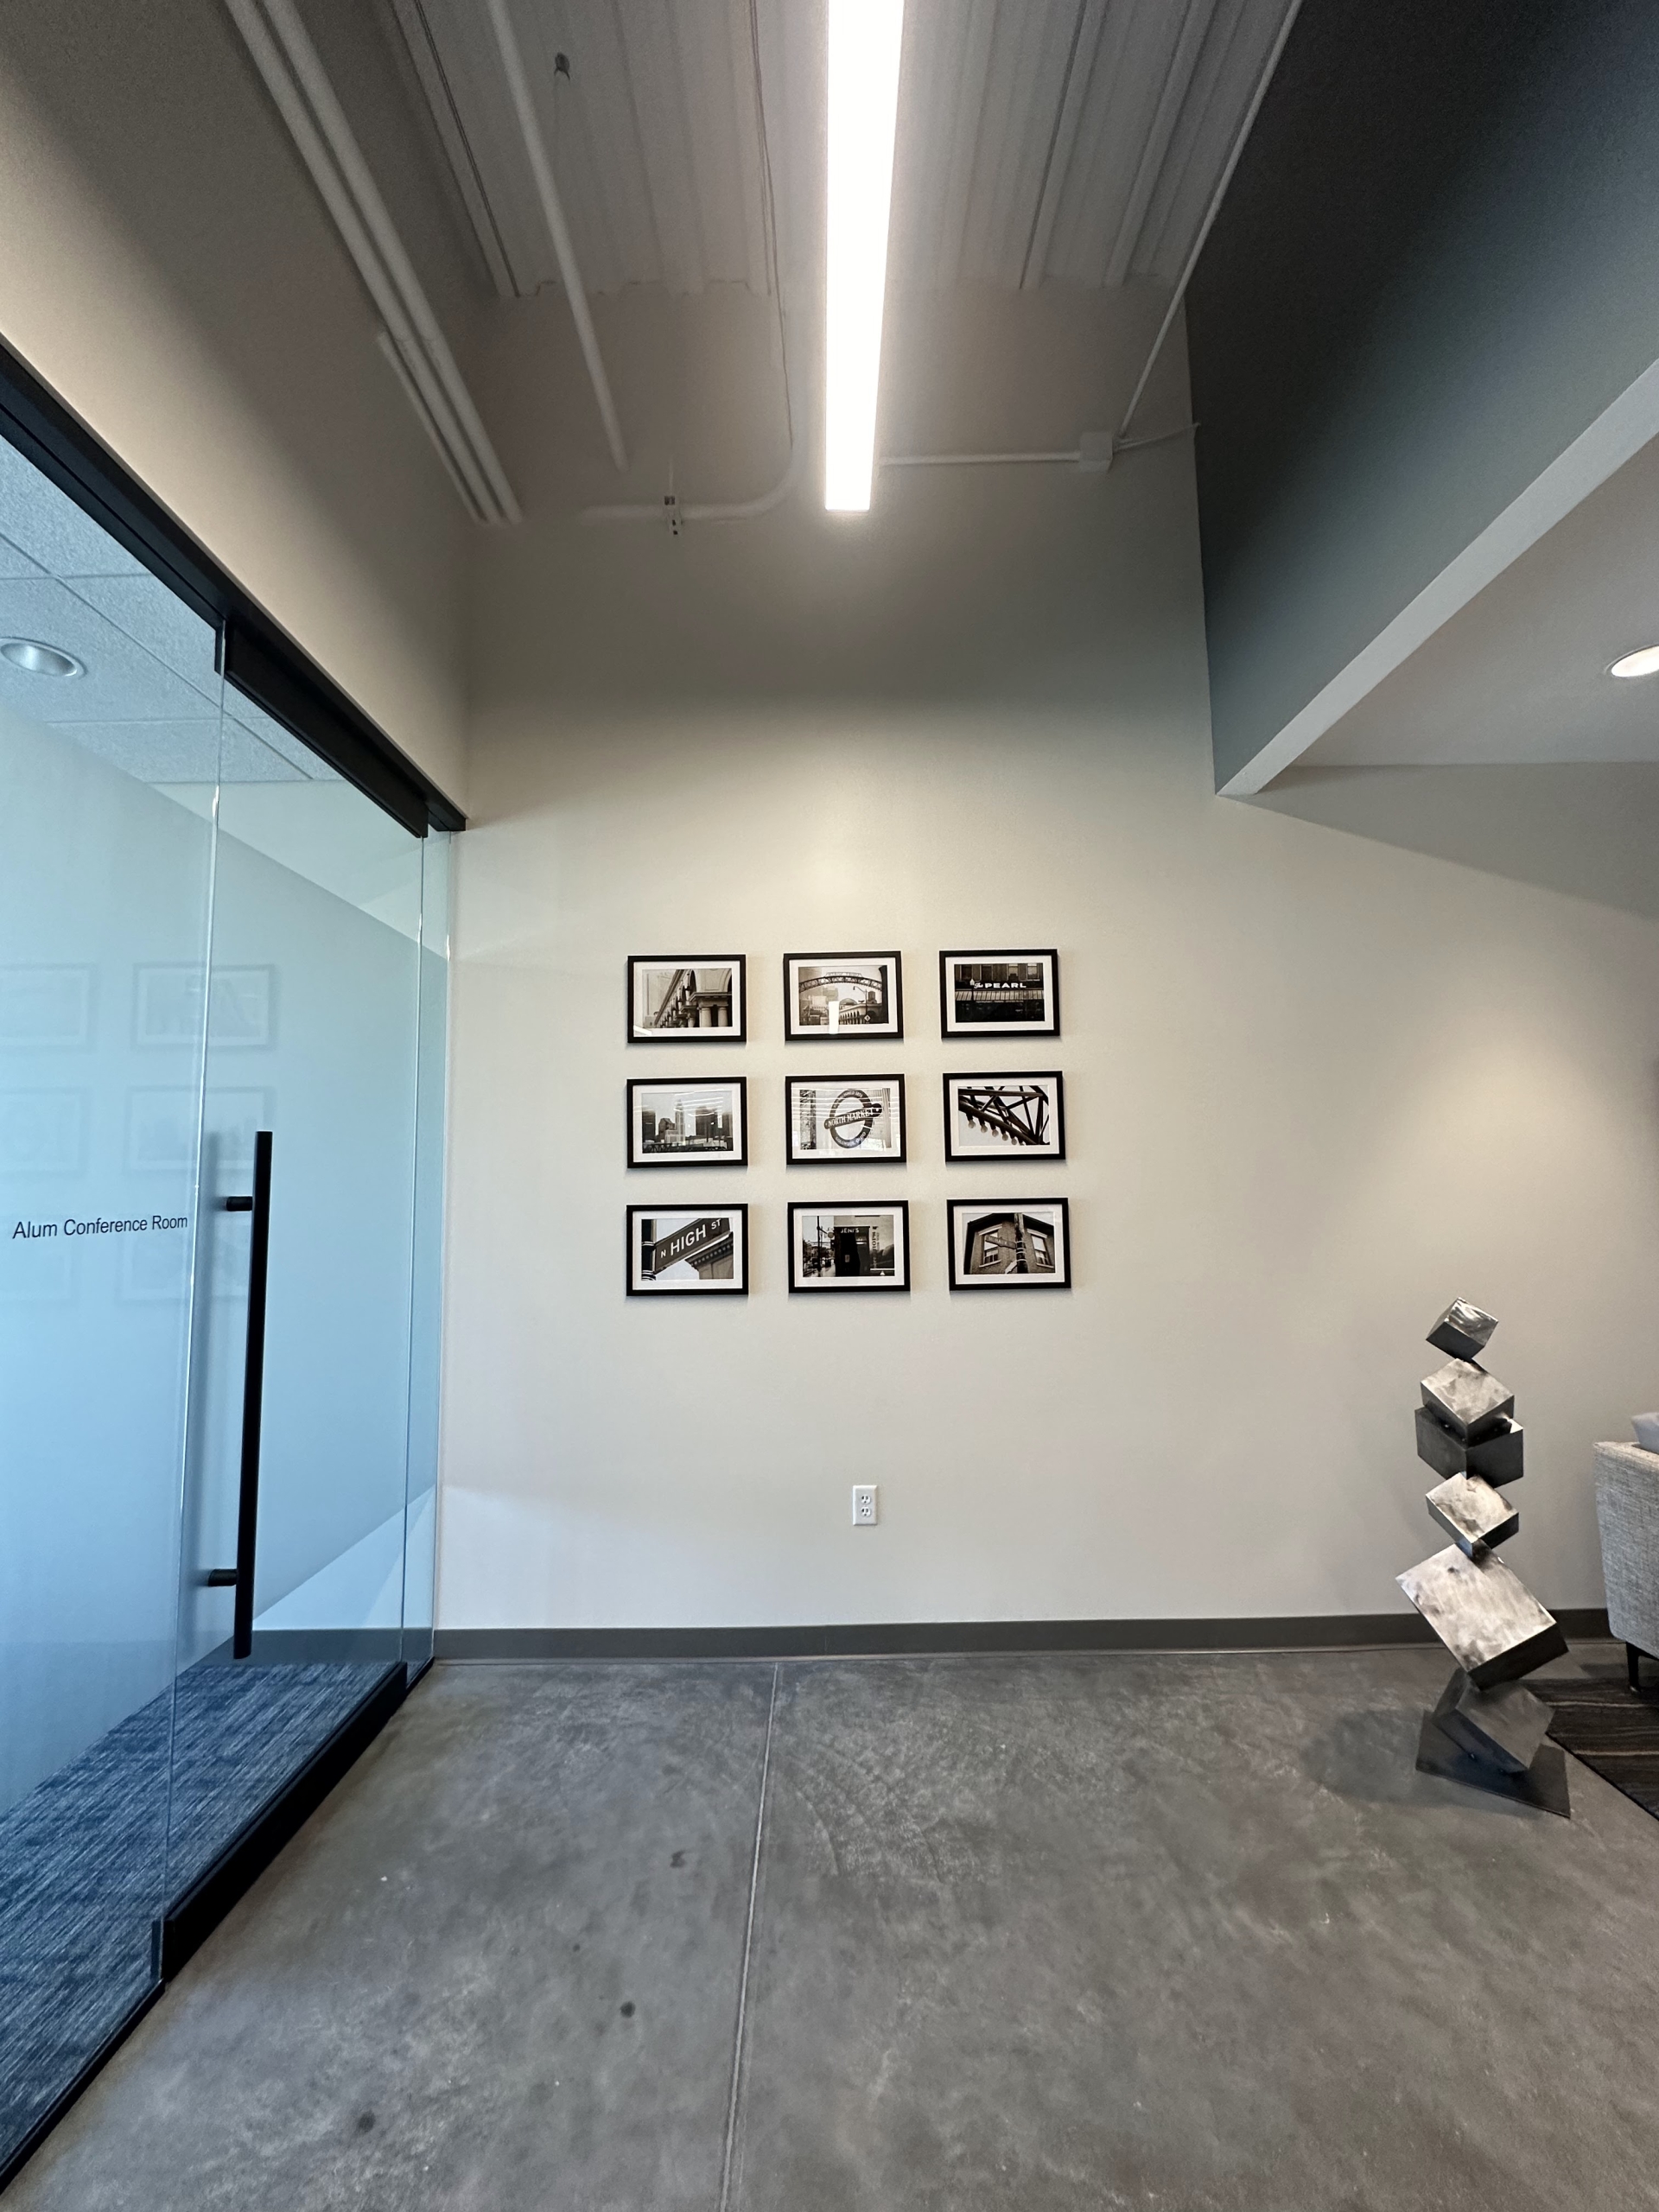
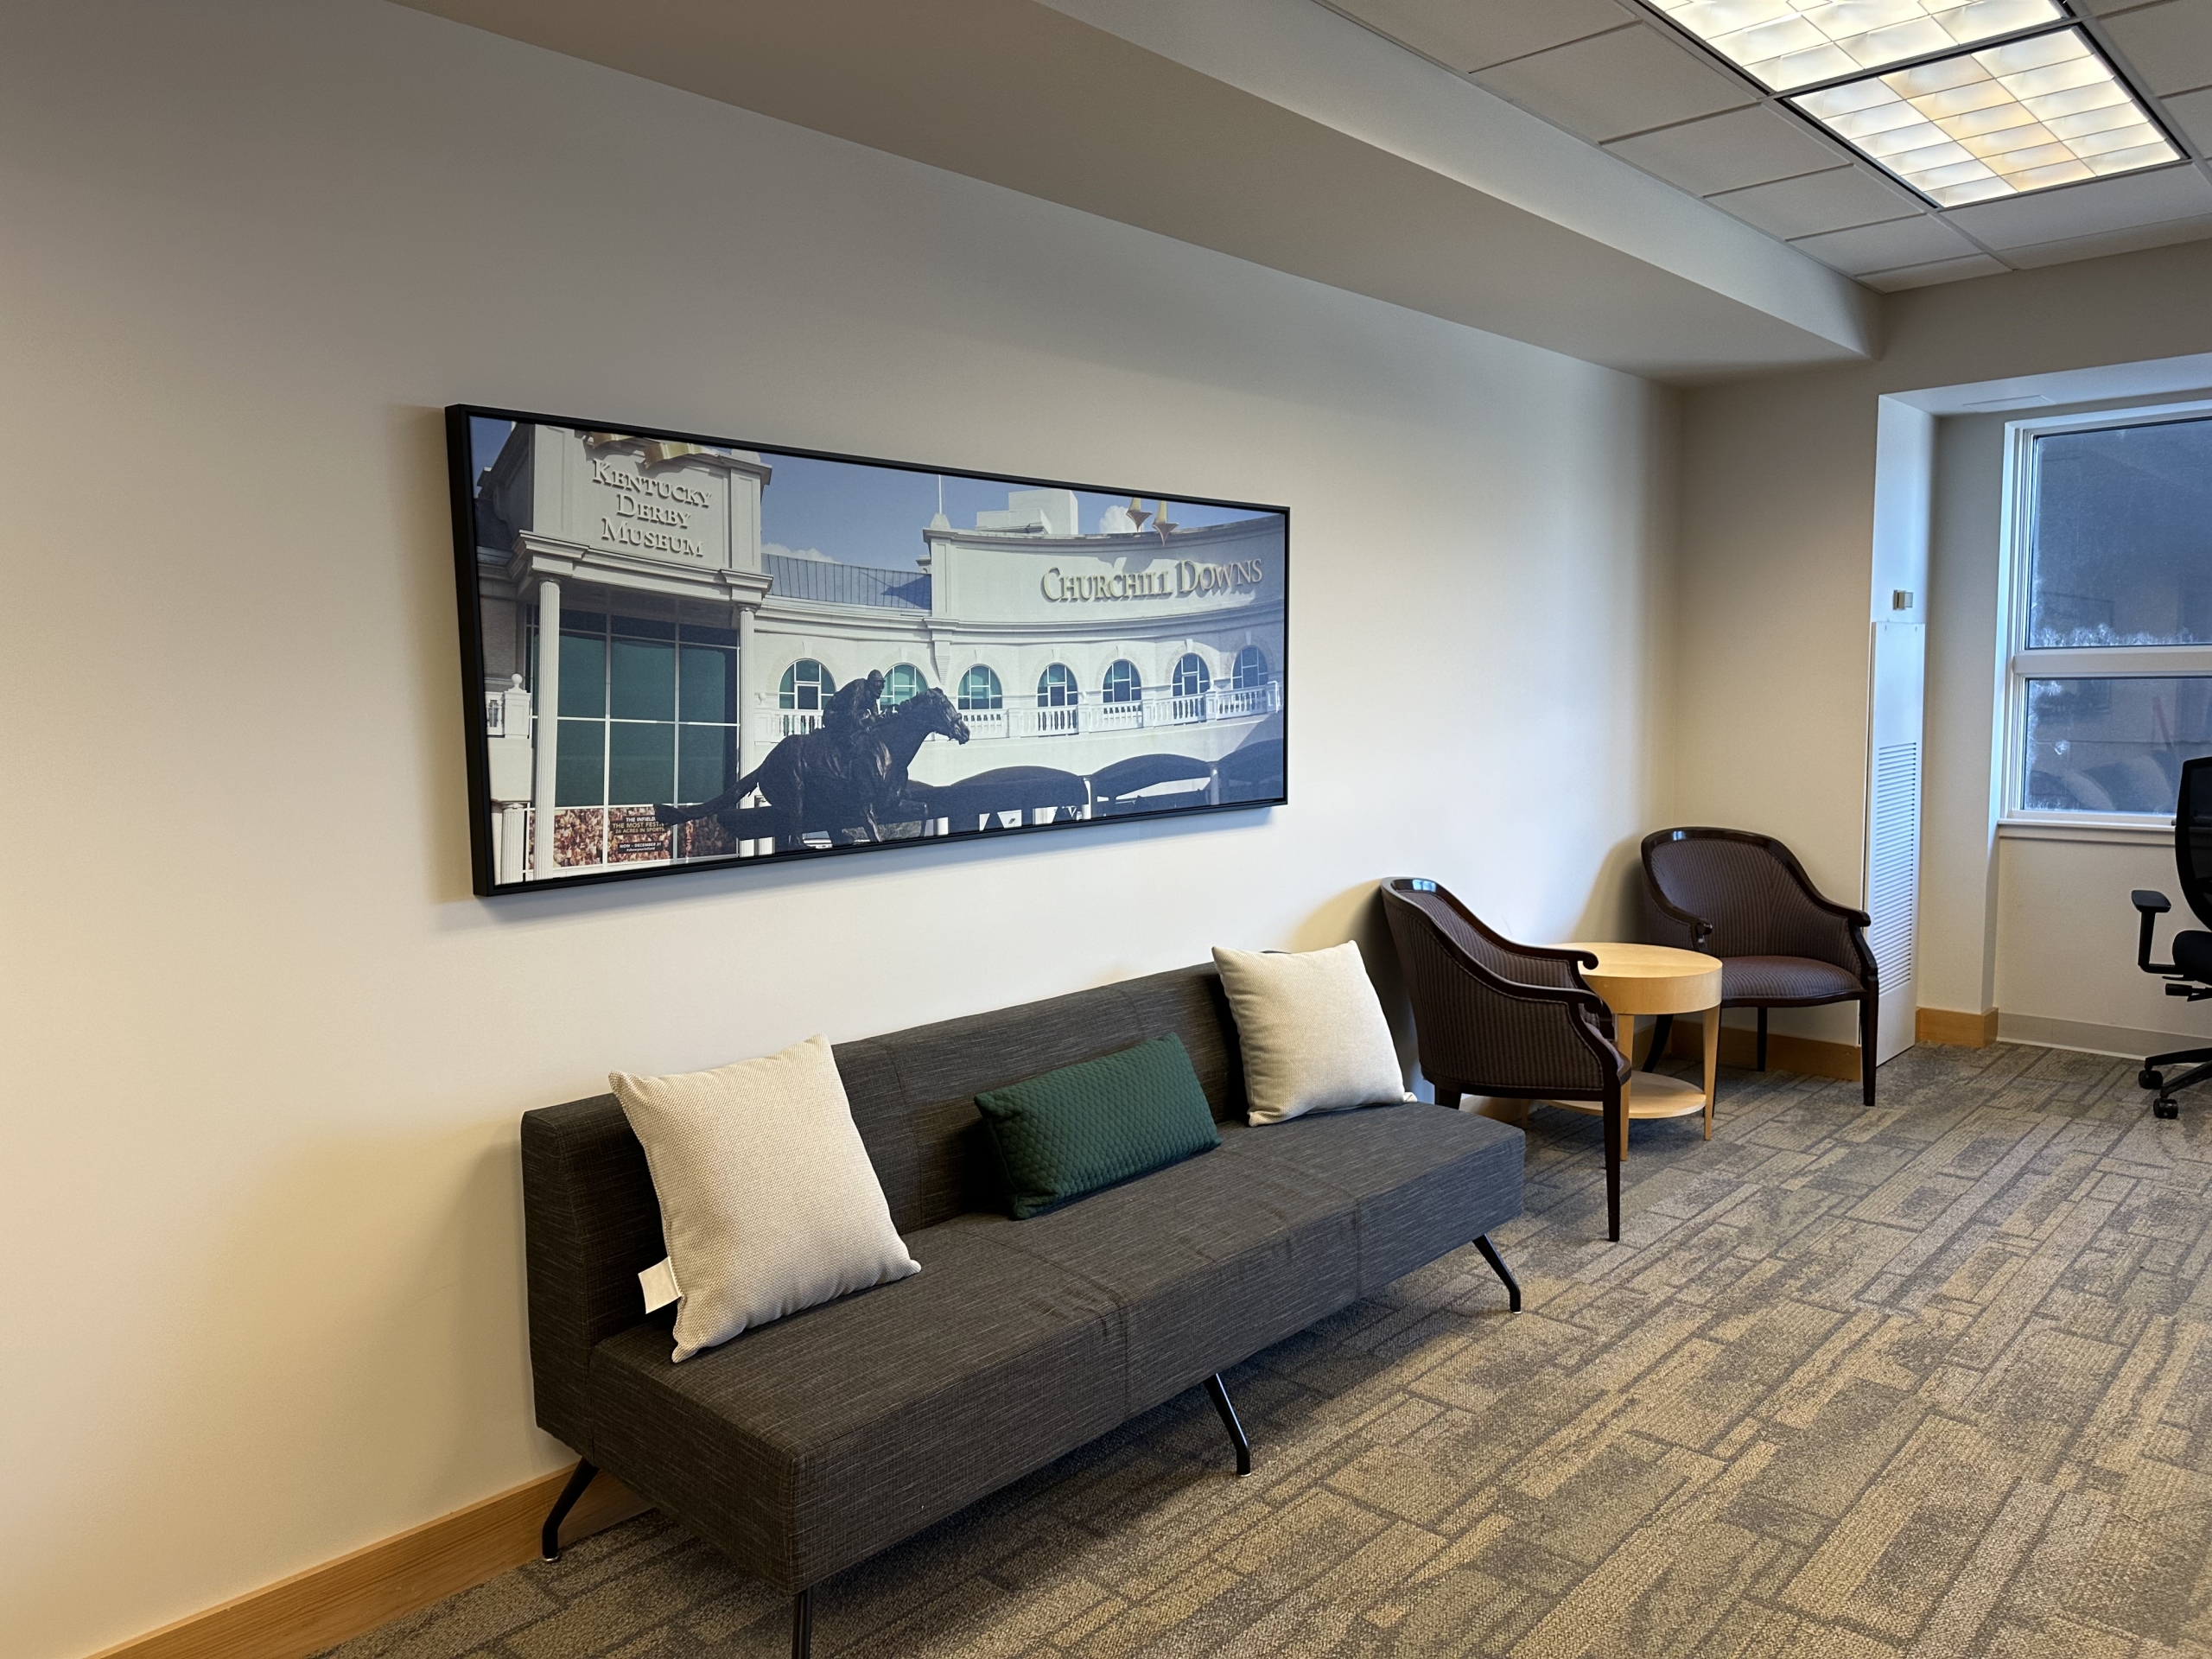
Photography
Photography brings a contemporary edge to any business environment. Black and white photographs can provide a classic and sophisticated look, while color photography can capture vibrant scenes and abstract compositions. Large-format photographs can make a bold statement in spaces like conference rooms or reception areas, enhancing the professional ambiance.
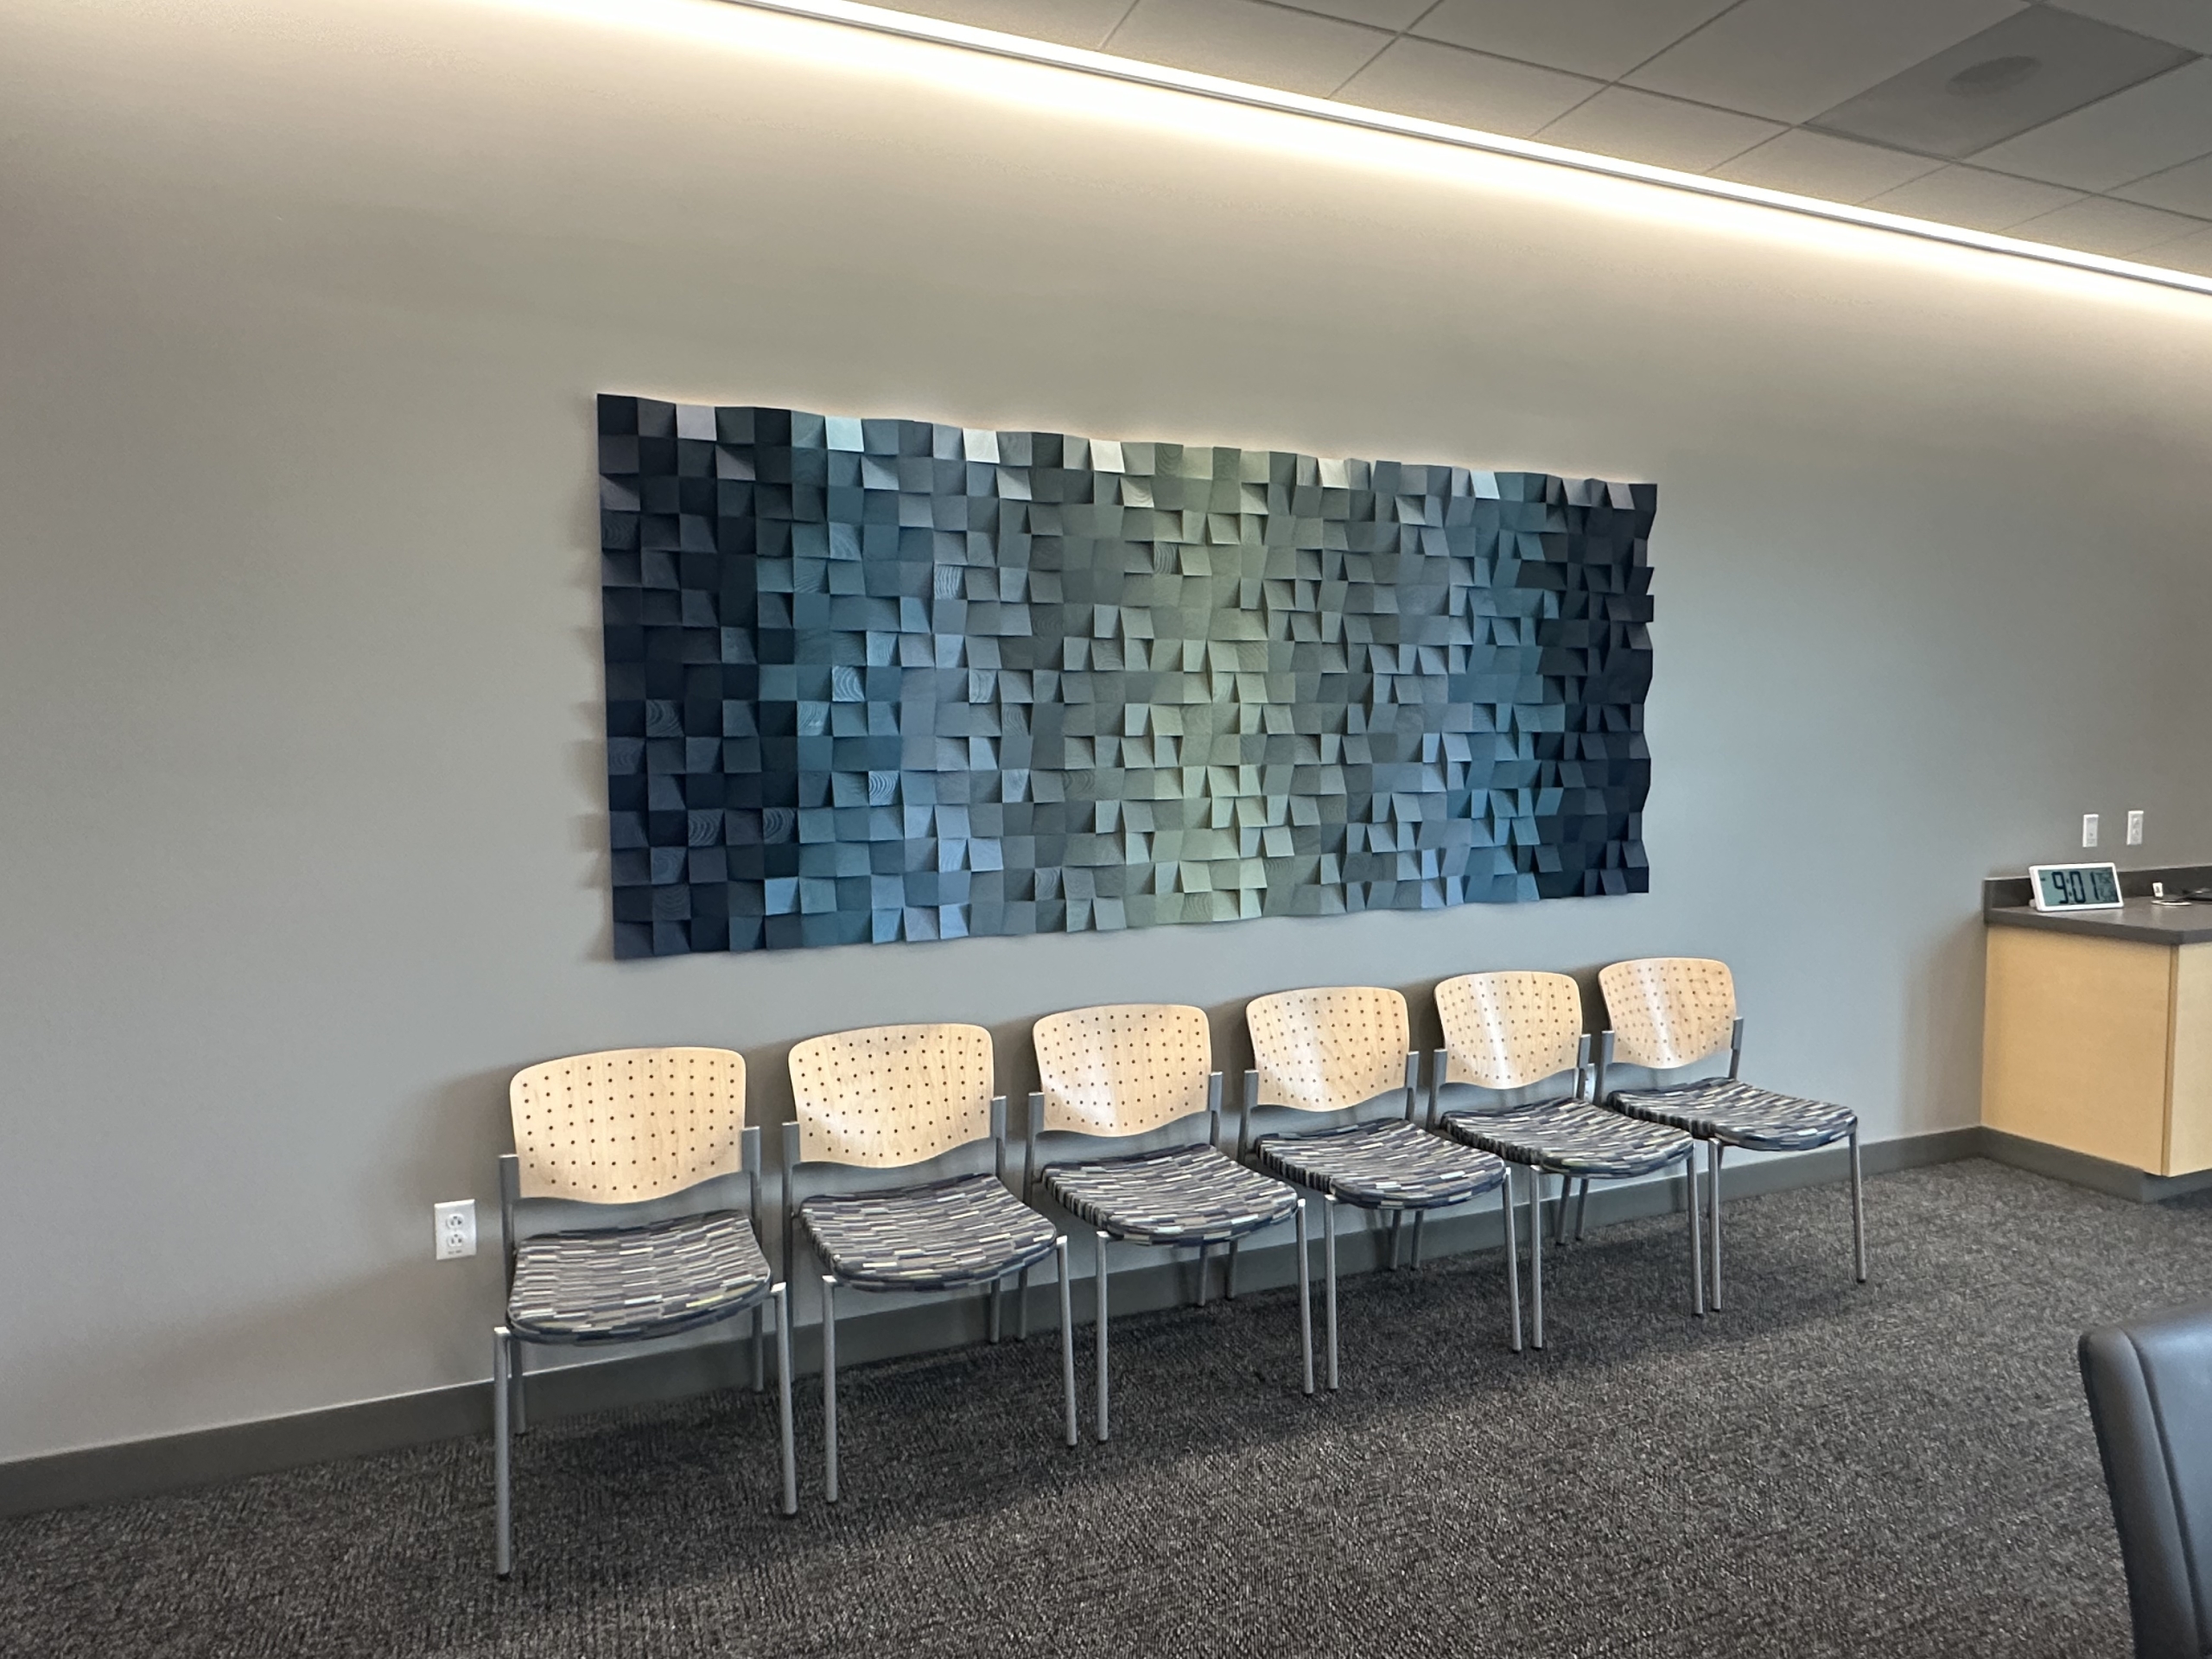
Mixed Media
Mixed media art combines different materials and techniques, offering a unique and eclectic aesthetic. This medium can include anything from collages and assemblages to digitally manipulated art. Mixed media pieces are ideal for businesses looking to create a dynamic and creative atmosphere, such as advertising agencies or tech startups.
Understanding these different art mediums can help businesses select the perfect pieces that not only align with their brand identity but also enhance their environment. By carefully choosing the right art medium, businesses can create spaces that are not only visually appealing but also inspiring and welcoming for both clients and employees.